Update Add-in on APP catalog
The steps in this section need to be done only once per SharePoint instance by a global SharePoint Administrator. After this initial installation, the web parts will become available for installation in each site collection.
Office 365
- Login to your Office 365 admin center page with an administrator account;
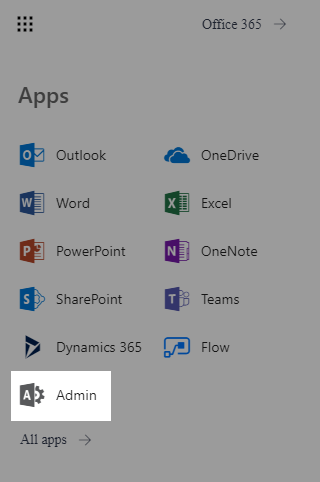
- Open the app launcher and click on Admin;
-
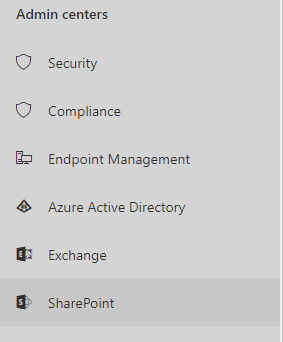
Open your SharePoint Admin Center;
-
Open your SharePoint Admin Center;
-
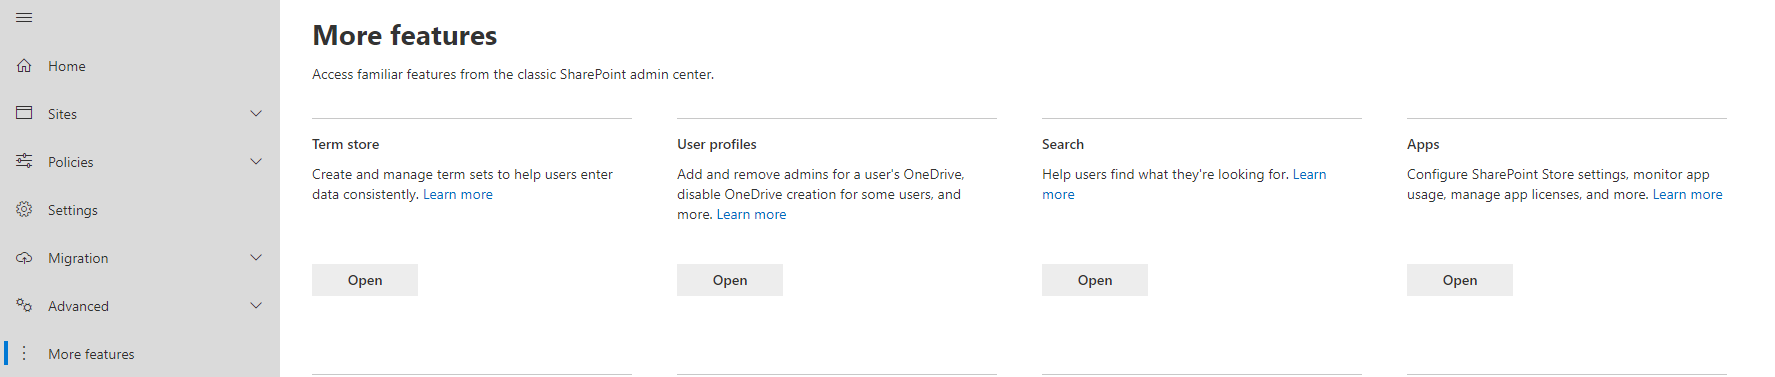
On the left panel, click on More features and select Apps;
-
Proceed by clicking on App Catalog;
-
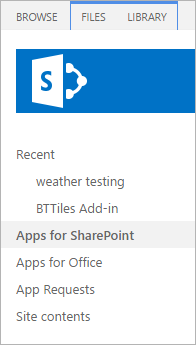
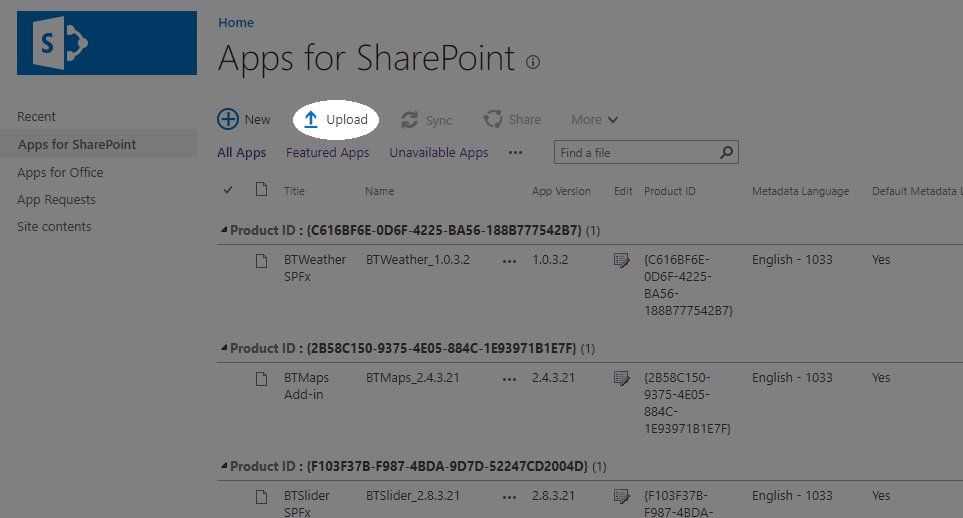
On the left pane, click on Apps for SharePoint;
-
Now click on Upload and upload the app file that is inside your web part package;
-
You will be prompted to replace the existing file on the library. Click Yes.
Update the web part on Site
The steps in this section need to be done for each site collection where you want to use the web part by a Site Collection Administrator.
-
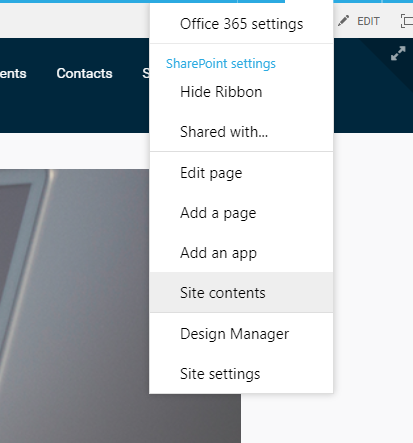
Inside your site collection, click on Settings ⚙️ and then on Site contents;
-
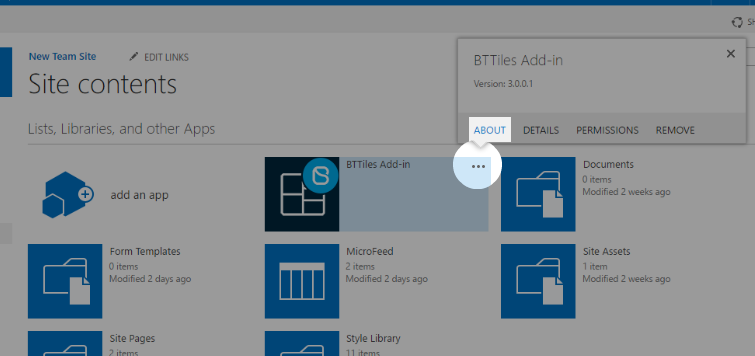
Click on the ellipsis button on the APP and then About;
-
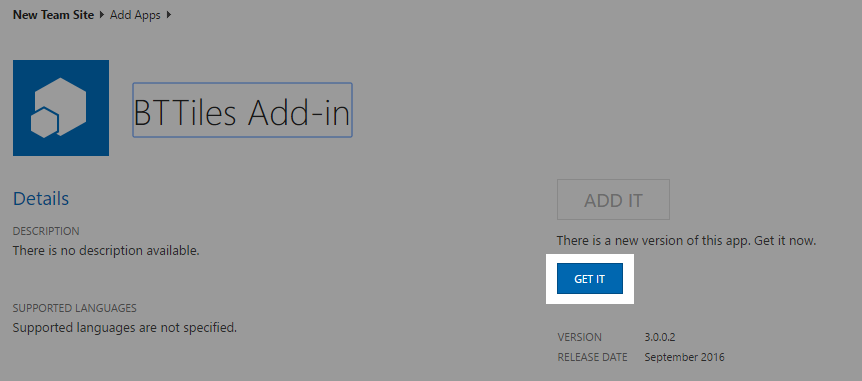
You will see a new version available. Click on Get It button and wait for the app to finish updating;
-
Click on Trust It and wait for the app to finish updating;
-
Once the update is complete, click on the APP and them click on Update Available;
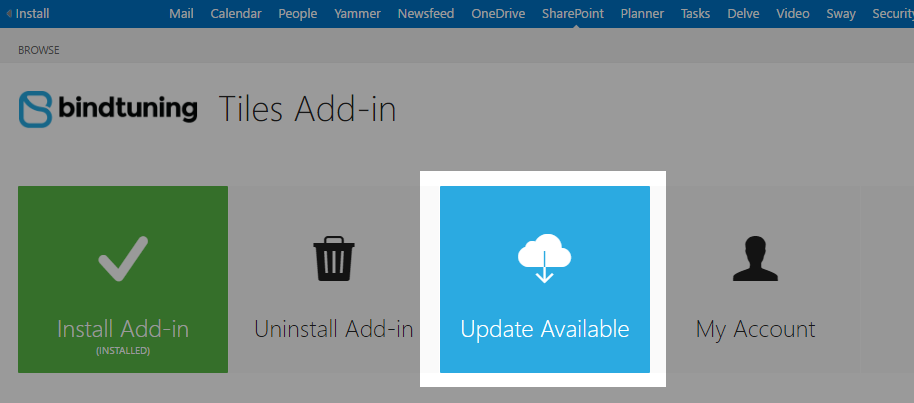
- The page will begin to install a new version of the web part into your Site Collection.
The page will begin re-deploying the web part into your site. Once it’s finished you will have the new version on you site collection.