If you want to use the SharePoint Add-in model to install the web part on your website, then you are in the right place. 😉
Install Add-in on APP catalog
The steps in this section need to be done only once per SharePoint instance by a global SharePoint Administrator. After this initial installation, the web parts will become available for installation in each site collection.
Office 365
- Login to your Office 365 admin center page with an administrator account;
-
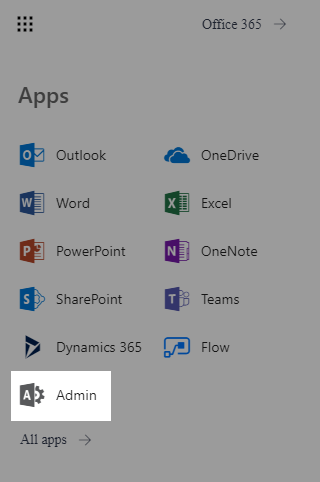
Open the app launcher and click on Admin;
-
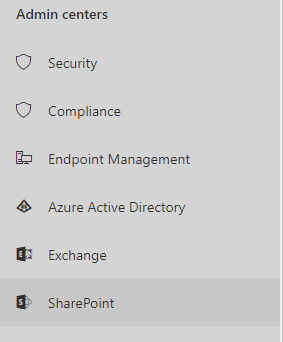
Open your SharePoint Admin Center;
-
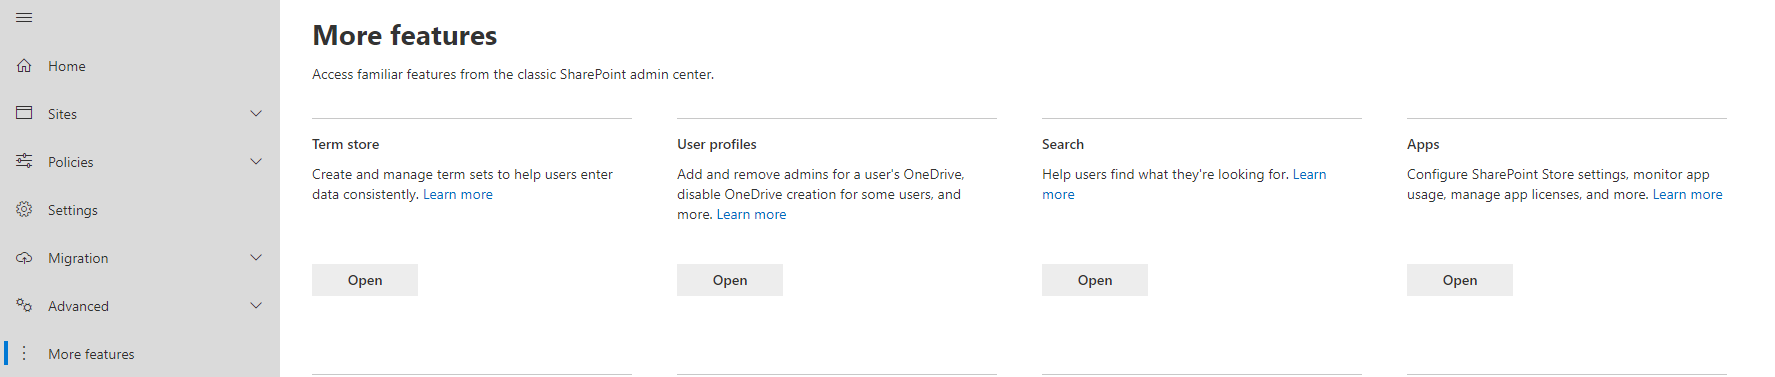
On the left panel, click on More features and select Apps;
-
Proceed by clicking on App Catalog;
-
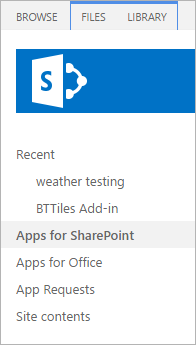
On the left pane, click on Apps for SharePoint;
-
Now click on Upload and upload the app file that is inside your web part package;
Now you can install the web part in every site collection in your SharePoint tenant. And that's what you are going to do next! 🙂
Install the web part on a SharePoint Site
The steps in this section need to be done for each site collection where you want to use the web part by a Site Collection Administrator.
-
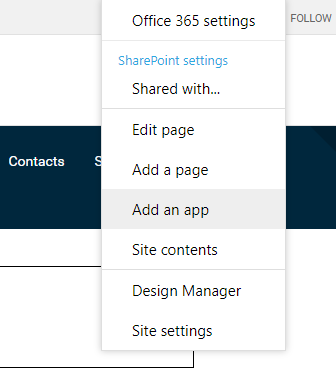
Open the Site Collection where you want your web part installed, and select Add an App;
-
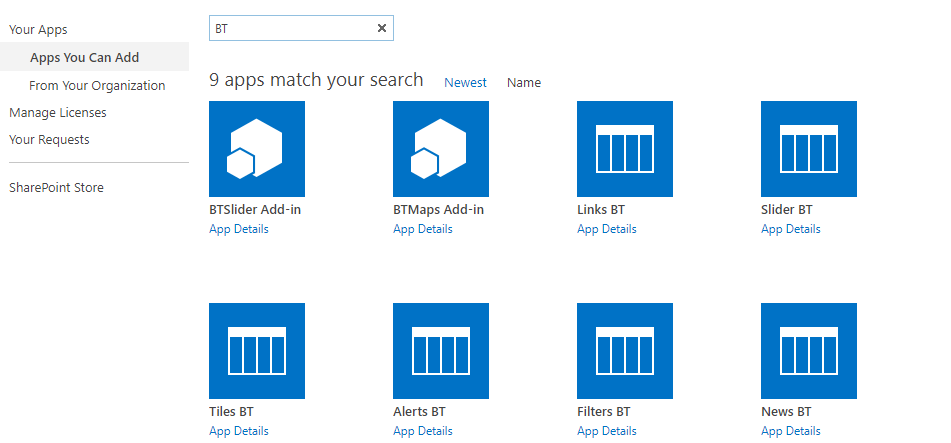
Search for bt in the search box and select the web part app;
-
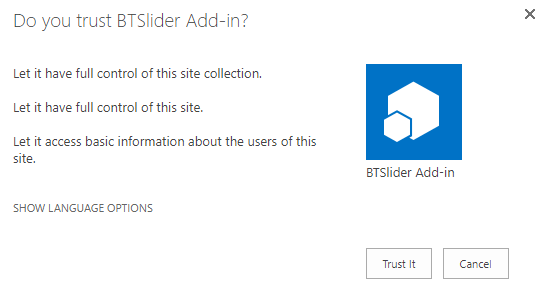
Click on the Trust It button and wait for the app to install - you might need to wait for a few minutes;
-
Proceed to your Site Contents. The installation will proceed automatically.
-
After the installation has finished, you see the added BindTuning Add-ins in a bright blue color.

Web part installed! ✅
Done! To complete the setup process the only thing left to do is to add it to the page and configure all its properties.